Monday 28 February 2011

Making Curved Shapes in Google SketchUp

First of all i created a cuboid by drawing a square and then extruding it.

I then deleted the box leaving one side that i used to draw a random shape on using the arc tool.


I then deleted the area surrounding the shape and extruded the shape a small amount. I clicked on the face of the 3d shape and pressed 'S' to activate the scale tool.


Whilst holding 'ctrl' i clicked and dragged the top right node of the scale box to create a sloping effect.

I then clicked on the face of the shape i had made and extruded it once more. I scaled the shape so that it continued from the one i had already made.

I then drew a circle on the face of the object using the circle tool.


I extruded this circle and used the scale tool to make the end smaller. I did this by pressing 'S' when the face was selecting and then dragging the top right node when i had 'ctrl' selected.

I then selected the whole object by clicking on it three times and then right clicked on it. I chose ' Make Component'.

I then named my component and selected create. By making the object into a component it would allow me to select it and edit it as a whole object.

I selected the component and left clicked on it whilst holding down 'ctrl'. I then dragged the object to the left which created a copy of it.
I then mirrored the copied object by right clicking on it, going to 'flip along' and then selecting 'component's red'. This mirrored the object along the red axis.

To finish the object i moved them both together. Because they are both copies of each other, whenever one is edited in anyway, the other is edited too.

Saturday 26 February 2011

Using Google Sketchup

Google sketch up is a CAD programme which is mostly used for Architectural Design, but it also has functions which allow Product Design. Sketchup is an easy programme to get to grips with but there are some basic tools that are essential for the user to use to if they wish to fully appreciate the 3D capabilities sketchup possesses.


1 (Orbit Tool) - When selected this tool allows the user to pan around the project, enabling them to view and add to it from all angles.

2(Pan Tool) - When selected this tool enables the user to move their project vertically and horizontally across the drawing board. This tool is useful when used along side the zoom tool so that the user can observe different parts of their project more closely.

3(Zoom Tool) - This tool enables the user to zoom in and out of their project. To use this function the user simply selects the tool and then click and drags the area they want to zoom in or out of. The user zooms in by dragging upwards and zooms out by dragging down the drawing board.


The three most commonly used drawing tools in sketchup are the Line, Rectangle and Circle. These are used to make the foundations of a 3d drawing.

1(Line Tool) - This tool is used to draw freehand straight line shapes.

2(Square Tool) - Used to create squares or rectangular shape.

3(Circle Tool) - Used to create circles or ellipses.

Extrusion


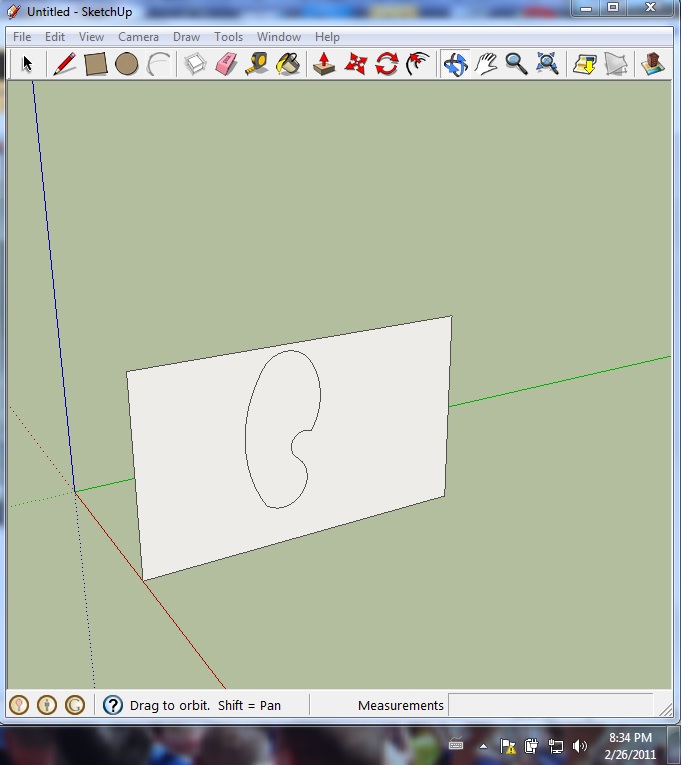
First of all i drew a random shape using the line tool. When using the line tool i used the alignment aids so that some of the lines were parallel with each other. Whilst drawing the shape i made sure that it was flat on the working plane, otherwise the extrusion tool would not function.


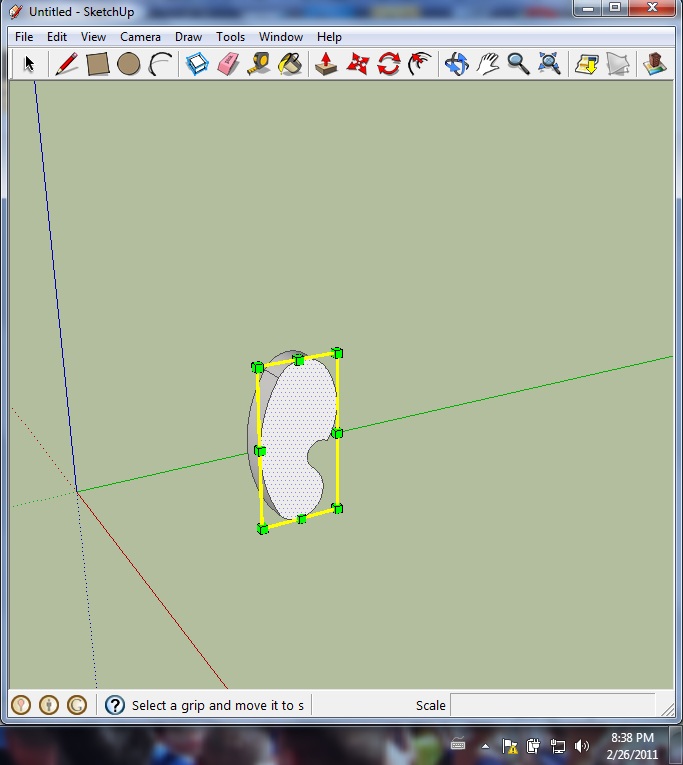
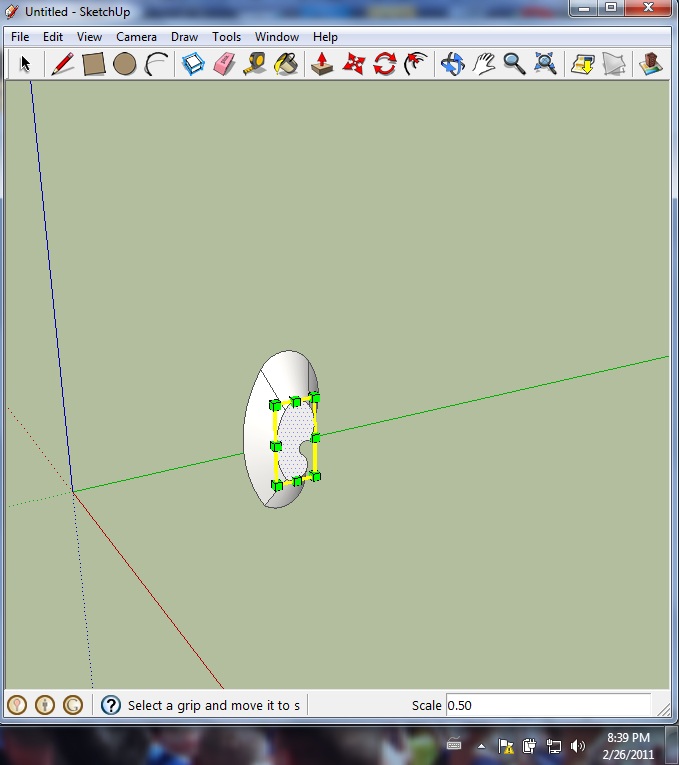
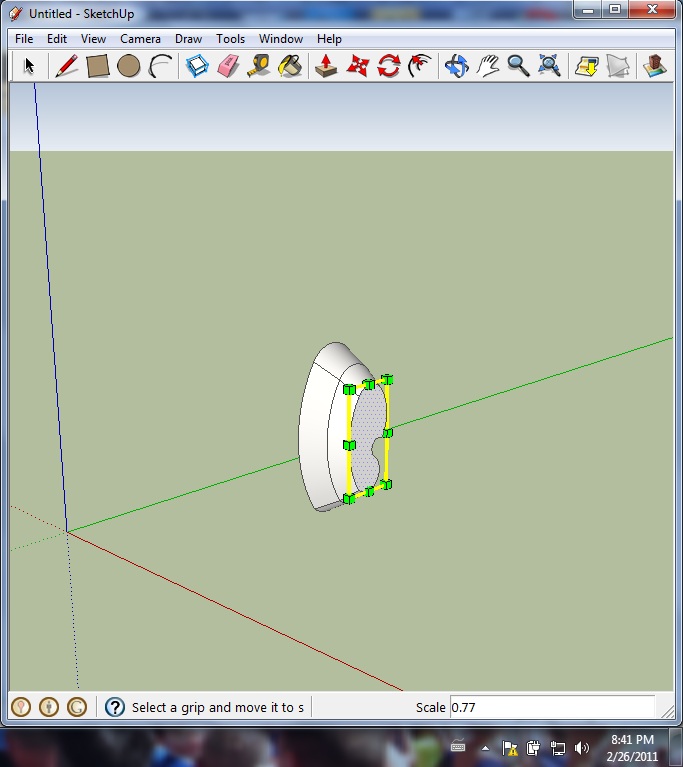
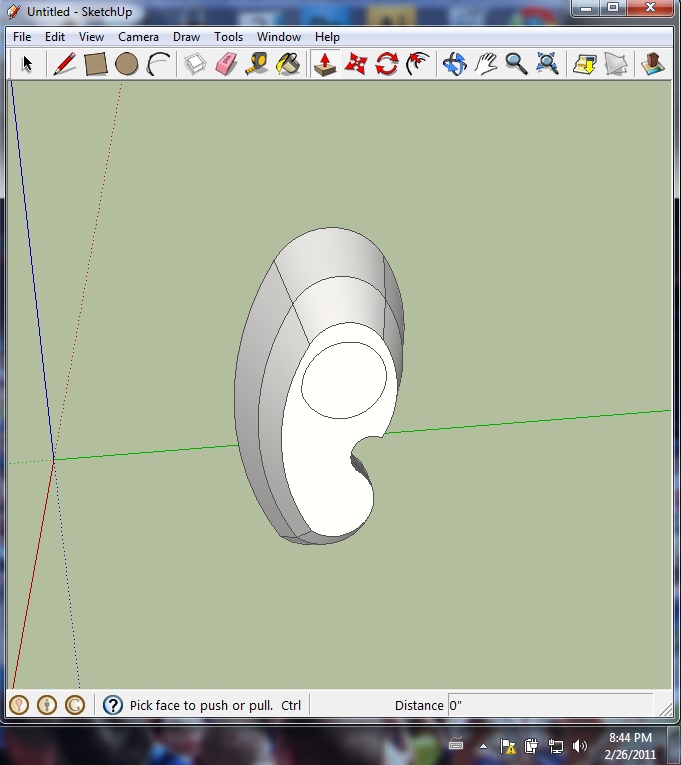
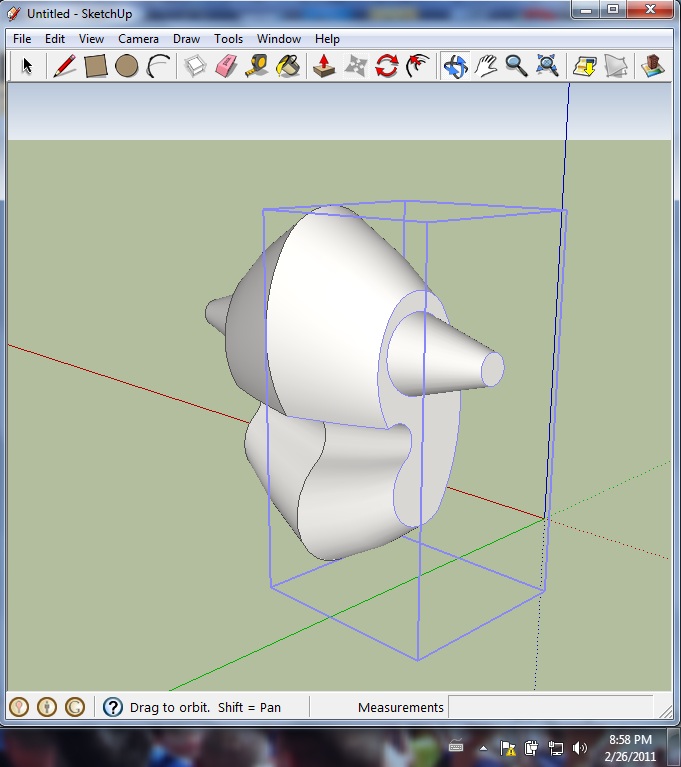
I then used the extrusion tool by clicking and dragging upwards the face of my shape. To observe my 3d object from all angles i used the orbit tool. 


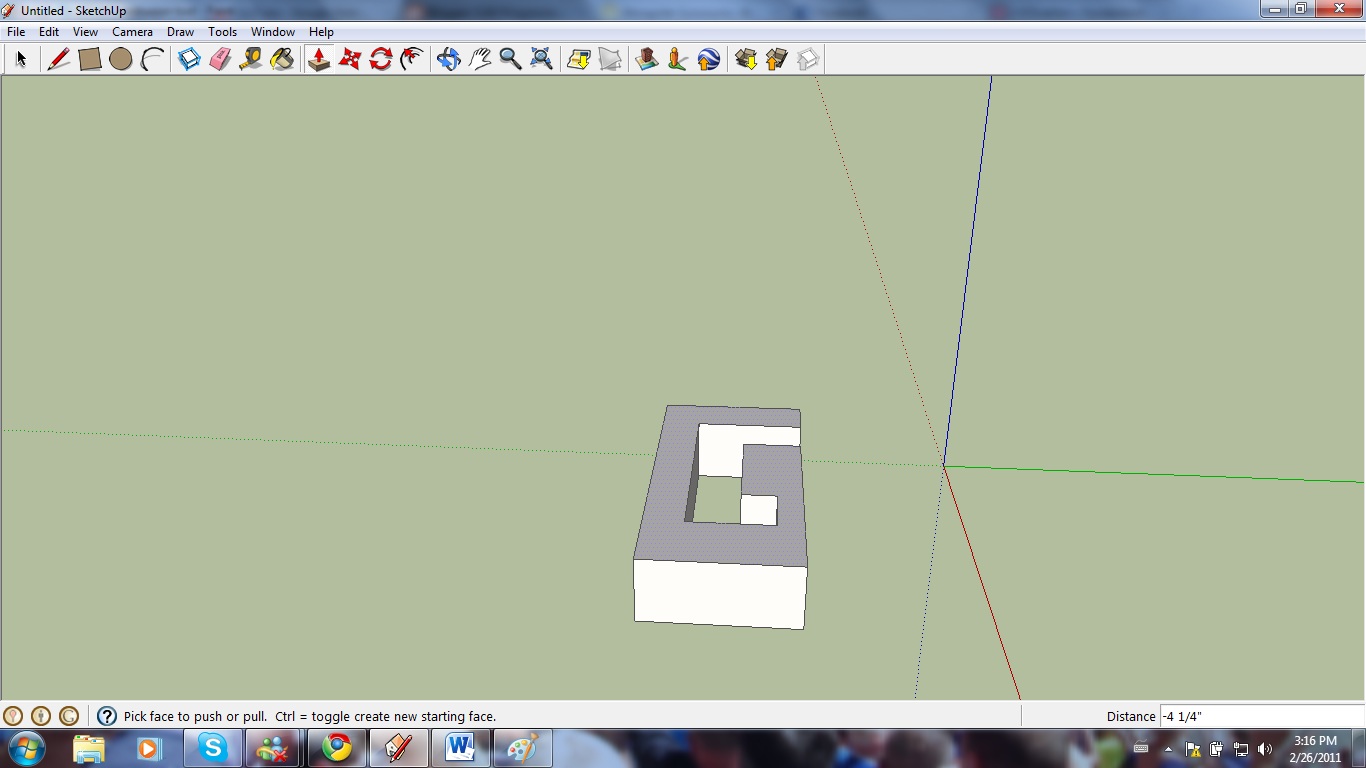
Extrusions can also be made into a 3d object, i did this by drawing a new shape onto the face of the object and then i clicked the face of the shape, dragging downwards to create a hole on the object.

Thursday 17 February 2011

Making Simple Patterns within Pro Paint

To import an image into Pro Paint i went to file an then clicked on Merge. I then browsed for the image i wished to use in my pattern and selected open.

After importing the image i was able to copy it by selecting the whole image and left clicking and dragging another image away.

One way of editing the image is to use the paint tool, by left clicking on this, selecting a colour from the colour palette and then selecting certain parts of an image you can add solid colours using the image as a base for a pattern.


To repeat the pattern inside a selected area i selected the 'select rectangle' tool and dragged a box around the patter i had created.

To repeat the pattern in a chosen area i selected the 'repeat pattern' tool that can be found at the bottom of the programme window, below the colour palette. I then selected the area that i wished the pattern to fill and my repetitive pattern was complete.